User:Tohline/vtk/XYPlotTutorial
Jump to navigation
Jump to search
XY Plots Tutorial

|
|---|
| | Tiled Menu | Tables of Content | Banner Video | Tohline Home Page | |
Getting Started
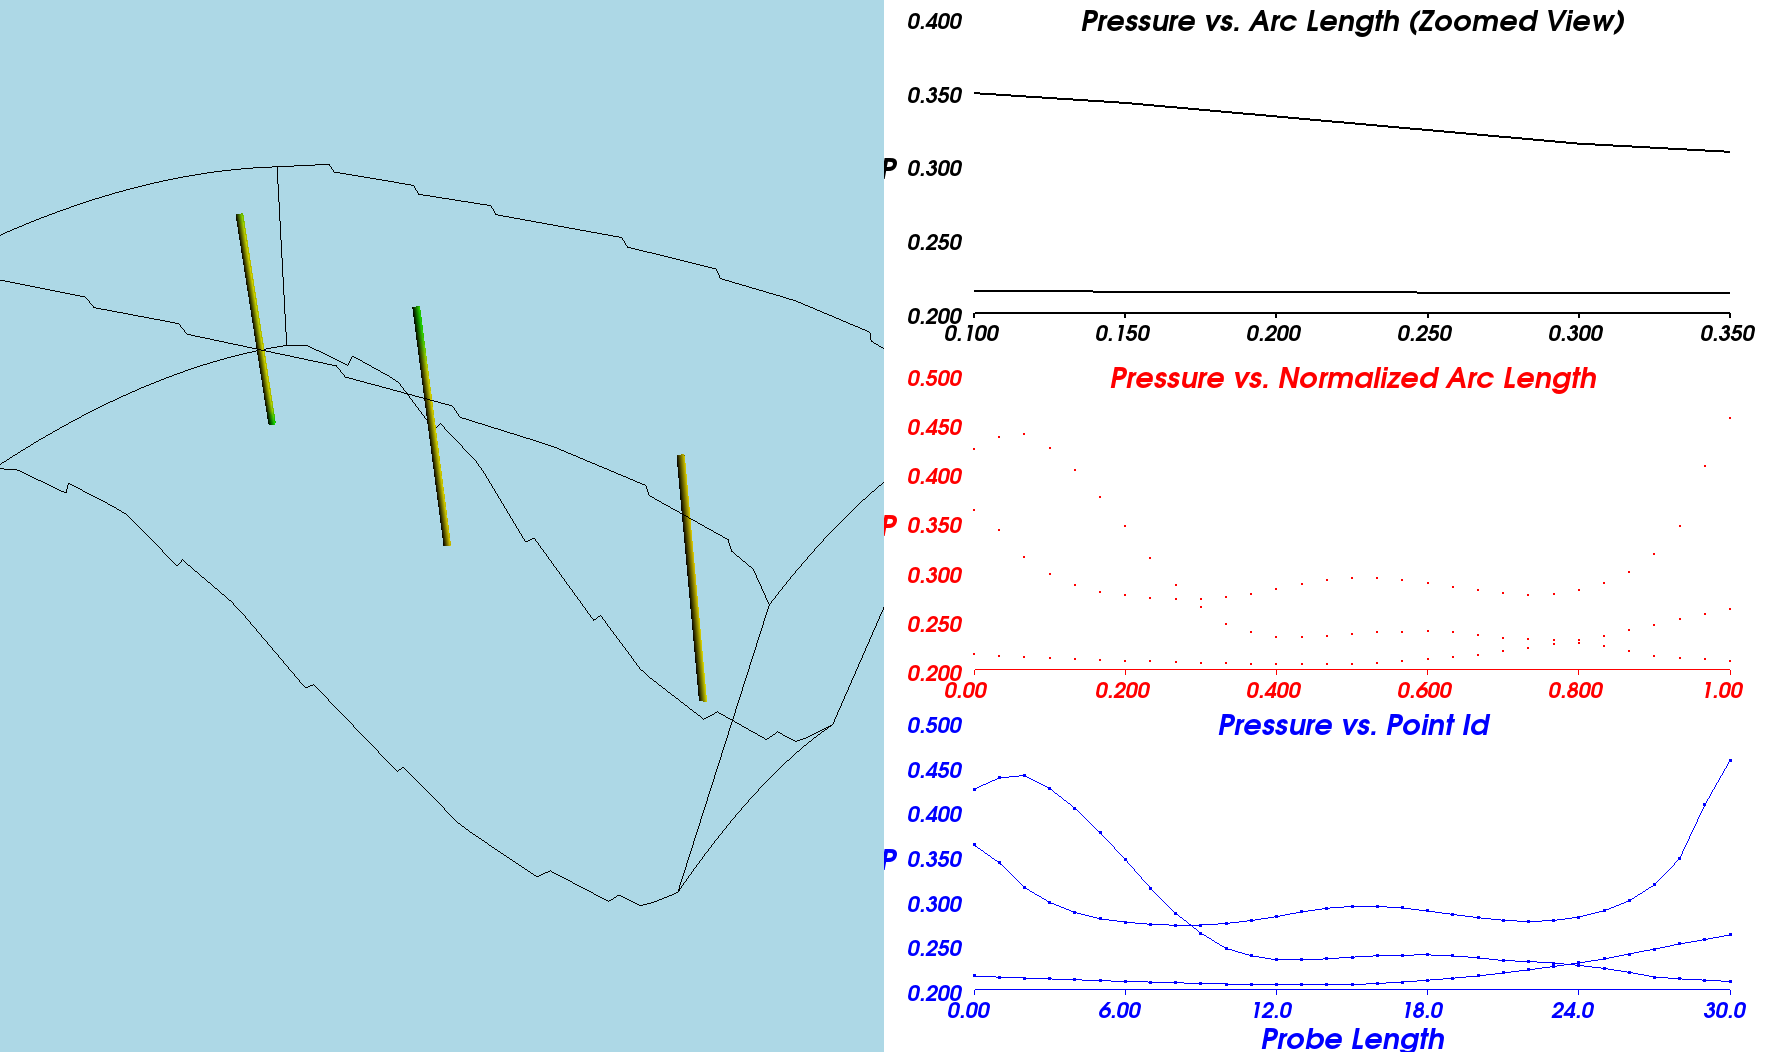
Here we delve into §4.12 (p. 62) of the VTK User's Guide, authored and published by Kitware, Inc., in an effort to learn how to draw normal two-dimensional (XY) line plots.
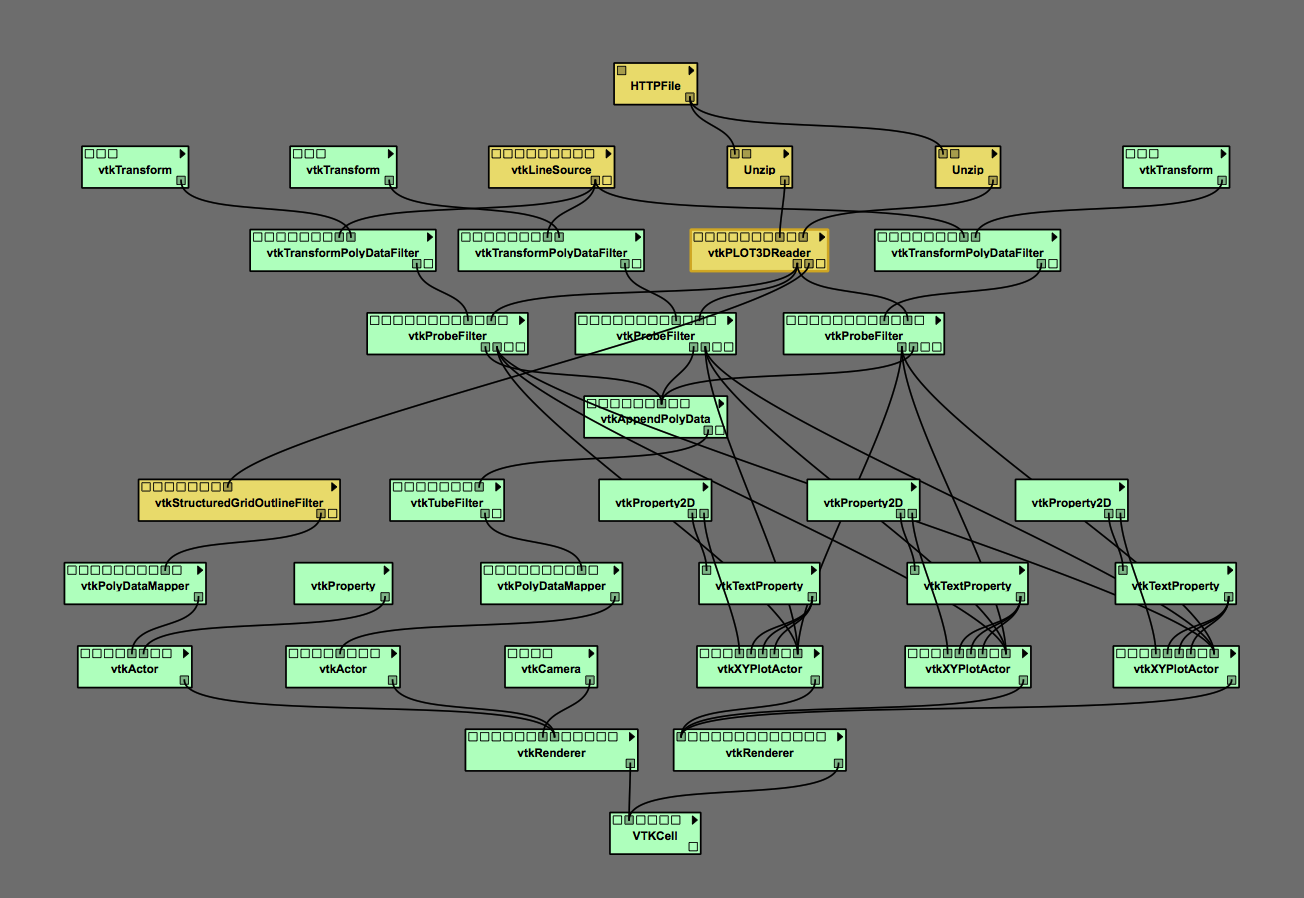
1. Inside VisTrails, open, then execute "xyPlot.vt" without making any changes to the default pipeline or to any module parameters:
- Follow this directory path: VisTrails/examples/vtk_examples/Annotation/xyPlot.vt
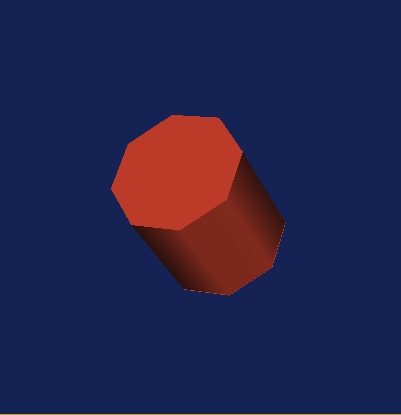
- Upon execution, the image that pops up in the VisTrails spreadsheet window will be totally orange (actually, the color is "tomato") and will not look like a cylinder. This is because the default position of the camera places you inside the tomato-colored cylinder.
- You can view the cylinder by placing your mouse cursor inside the relevant spreadsheet window and using the appropriate mouse control to "zoom out". Then other mouse actions will let you spin the cylinder and/or move it side to side.
2. Modify the initial camera position:
- Click on the "vtkCamera" module of the Cylinder.vt Pipeline; the "Methods" segment of the VisTrails Builder Window will list all of the methods that can be activated within the vtkCamera module.
- Note that, in the bottom half of this "Methods" window segment, the "Zoom" method has already been activated with a value of 1.5.
- Scroll through the list of methods to find the "SetPosition" method; highlight that method and drag it into the bottom half (Set Methods) segment of the Methods window; three empty "Float" text windows will appear, allowing you to enter floating-point numbers to specify, respectively, the <math>x</math>, <math>y</math>, and <math>z</math> coordinates of the desired camera position.
- Type 5.0, 5.0, and 5.0 into the three "Float" text windows, then execute the Cylinder.vt Pipeline again; this should produce the tipped, 8-sided, tomato-colored cylinder (on a dark blue background) shown here as Fig. Cylinder01.


