Getting Started
The VisTrails system is distributed both as source code and pre-built binaries, and instructions for obtaining either can be found at our website: http://www.vistrails.org. Because the system is written in Python using a Qt interface, it can be run on most architectures that support these two components, even if a pre-built binary is not available for your system. Section Installation provides instructions to guide you through installation procedures, and Section Quick Start gives a quick orientation and serves as a springboard for exploring the different features of VisTrails.
Installation
There are two types of VisTrails installations. The first is a binary installation that lets you use VisTrails by running the precompiled executable. The second is a full source code installation that requires you to install and compile VisTrails and all of its dependencies. Of the two types of installations, the binary version is much easier, and we encourage first-time users to use this option whenever possible. Precompiled binaries are currently available for Microsoft Windows (XP and Vista) and Mac OS X (10.4.x or higher). To obtain either a binary or source copy of VisTrails, please see our website: http://www.vistrails.org.
Installing VisTrails on Windows XP/Vista
To install VisTrails on Windows, download the installation bundle for Windows from the VisTrails website: http://www.vistrails.org. Unzip the file using the decompression program of your choice, then double-click the executable to begin installation (Figure Installation wizard for Microsoft Windows XP/Vista.). Follow the prompts in the installation wizard to complete the installation process.
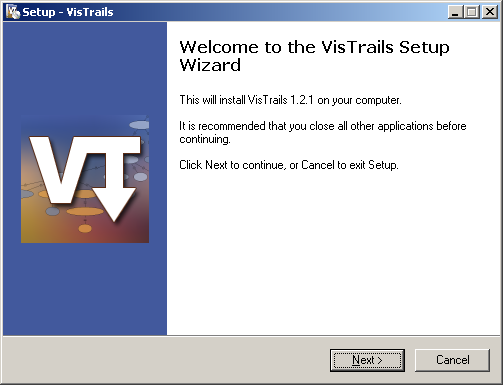
Installation wizard for Microsoft Windows XP/Vista.
Installing VisTrails on Mac OS X
To install VisTrails on Mac OS X, download the installation bundle for Mac from the VisTrails website: http://www.vistrails.org. The precompiled binary currently only supports Mac OS X 10.5.x or higher. The disk image should be mounted automatically (Figure Installing VisTrails on Mac OS X.). Once the disk image is mounted, drag the VisTrails desktop icon to the Applications folder to install the software.
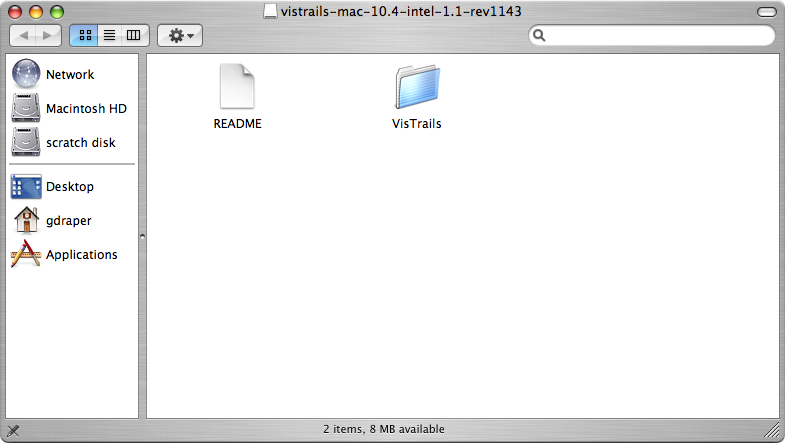
Installing VisTrails on Mac OS X.
Installing VisTrails on Ubuntu Linux
Although not a binary installation per se, installing VisTrails on Ubuntu Linux is nonetheless quite straightforward. VisTrails now interfaces with “apt” directly via a Python API. This allows dynamic installation of necessary packages. As a result, you do not need to manually install any of the dependent packages. Just download the VisTrails source code and execute it with:
python vistrails.py
and VisTrails should detect all necessary software and, if necessary, ask for your permission to install it.
Installing VisTrails from source
Installing VisTrails from source code is a non-trivial task. Rather than listing full compilation instructions in this manual, we instead provide a list of software packages upon which VisTrails is dependent, and refer you to the VisTrails website for additional details.
- Python 2.6 or higher
- Qt 4.4 or higher
- PyQt4
- SciPy
- VTK (needed to run the examples in this book
There may also be additional dependencies, depending on which optional features of VisTrails you plan to use.
Please refer to http://www.vistrails.org/index.php/Mac_Intel_Instructions for more details.
Quick Start
On Windows and Mac OS X, you can launch VisTrails by double-clicking on the VisTrails application icon. In general, however, it is possible to start VisTrails on any system by navigating to the directory where the file vistrails.py is located (usually the root directory of your installation) and executing the command:
python vistrails.py
Depending on a number of factors, it can take a few seconds for the system to start up. As VisTrails loads, you may see some messages that detail the packages being loaded and initialized. This is normal operation, but if the system fails to load, these messages will provide information that may help you understand why. After everything has loaded, you will see the VisTrails Builder window as shown in Figure VisTrails Builder Window. If you have enabled the VisTrails Spreadsheet, you will also see a second window like that in Figure VisTrails Spreadsheet Window. (Note that the spreadsheet is enabled by default.)
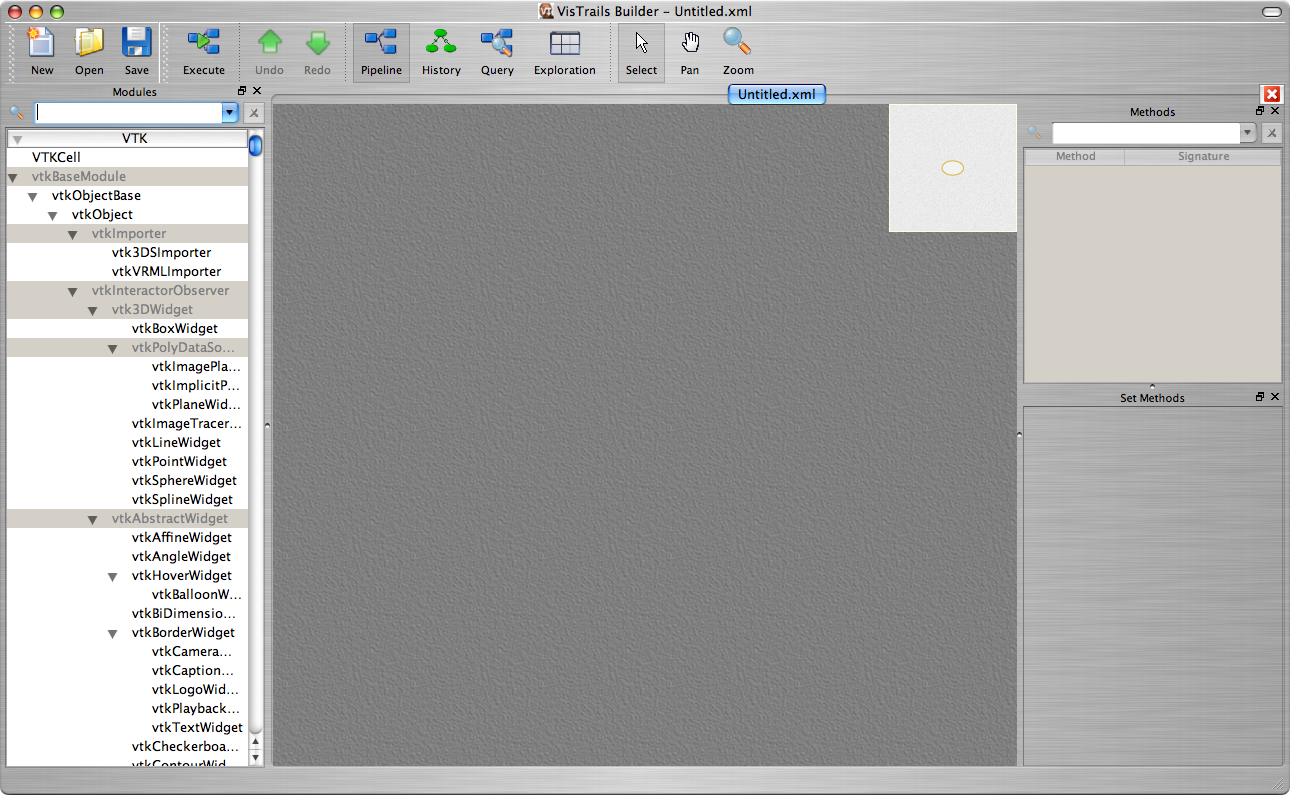
VisTrails Builder Window
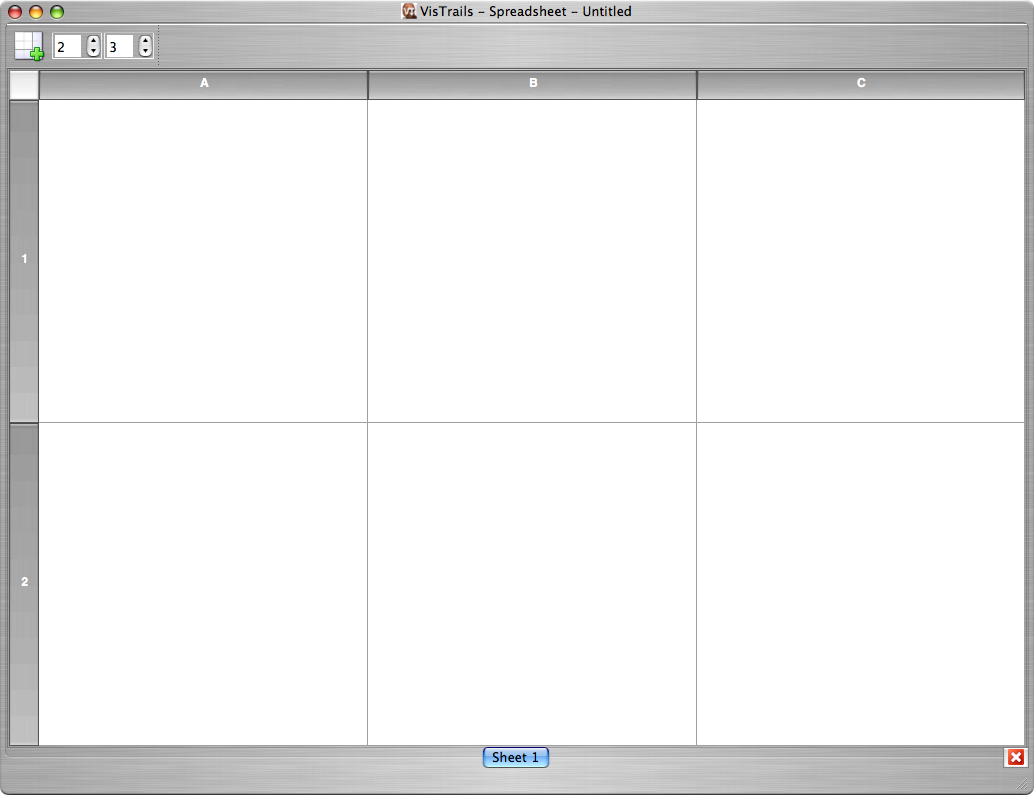
VisTrails Spreadsheet Window
(see Section Manipulating VisTrails Files)
(see Section VisTrails Interaction)
(see Chapters Creating and Modifying Workflows, Interacting with the Version Tree, Querying the Version Tree, Parameter Exploration)
(see Section VisTrails Interaction)
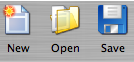
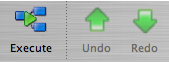
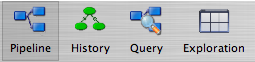
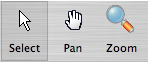
The VisTrails toolbar serves to help you navigate the various modes and functions VisTrails provides. As illustrated by Figure (see Section Manipulating VisTrails Files), the left side of the toolbar contains standard file manipulation buttons, and the next section provides buttons for execution and undo/redo functionality. The four buttons in the third section serve to switch between different modes to manipulate, query, and explore workflows. The right-most buttons allow you to toggle between different ways of navigating around the current canvas.
Manipulating VisTrails Files
To open a VisTrails file, or vistrail, you can either click the Open button in the toolbar or select Open from the File menu. This brings up a standard file dialog where you can select a vistrail to open. Vistrails are identified by the .vt file extension. Opening a vistrail adds a tab to the builder window, where each tab represents a different vistrail. Clicking a tab switches the current vistrail. Vistrails can also be stored in a database, enabling a central repository for workflows. See Chapter Connecting to a Database for more details about this feature.
To close a vistrail, you can either choose the Close option from the File menu or click the red ‘X’ button on the upper right side of the builder window. If the vistrail has not been saved, you will asked if you wish to save your work. To save a vistrail, there is both a button and a menu item in the File menu. If you would like to save the vistrail with a different name or in a different location, you can use the Save As option.
VisTrails Basics
In general, a workflow is a way to structure a complex computational process that may involve a variety of different resources and services. Instead of trying to keep track of multiple programs, scripts, and their dependencies, workflows abstract the details of computations and dependencies into a graph consisting of computational modules and connections between these modules.
The Pipeline button on the VisTrails toolbar accesses VisTrail’s interface for building workflows. Similar to many existing workflow systems, it allows you to interactively create workflows using an extensible library of modules and a connection protocol that helps you determine how to connect modules. To add a module to a workflow, simply drag the module’s name from the list of available modules to the workflow canvas. Each module has a set of input and output ports, and outputs from one module can be connected to inputs of another module, provided that the types match. For more information on building workflows in VisTrails, see Chapter Creating and Modifying Workflows.
In addition to VisTrail’s Pipeline interface for manipulating individual workflows, the History interface (accessed through the History button on the toolbar) contains a number of features that function on a collection of workflows. A vistrail is a collection of related workflows. As you explore different computational approaches or visualization techniques, a workflow may evolve in a lot of directions. VisTrails captures all of these changes automatically and transparently. Thus, you can revisit a previous version of a workflow and modify it without worrying about saving intermediate versions. This history is displayed by the VisTrails Version Tree, and different ways of interacting with this tree are discussed in Chapter Interacting with the Version Tree.
With a collection of workflows, one of the necessary tasks is to search for specific workflows. VisTrail’s search functionality is accessed by clicking the Query button on the toolbar. The criteria for these searches may vary from finding workflows modified within a specific time frame to finding workflows that contain a specific module. Because of the version history that VisTrails captures, these tasks are natural to implement and query. VisTrails has two methods for querying workflows, a simple text-based query language and a query-by-example canvas that lets you build exactly the workflow structure you are looking for. Both of these techniques are described in Chapter Querying the Version Tree.
The Exploration button allows you to explore workflows by running the same workflow with different parameters. Parameter Exploration provides an intuitive interface for computing workflows with parameters that vary in multiple dimensions. When coupled with the VisTrails Spreadsheet, parameter exploration allows you to quickly compare results and discover optimal parameter settings. See Chapter Parameter Exploration for specific information on using Parameter Exploration.
VisTrails Interaction
Workflow Execution
The Execute button on the toolbar serves as the “play” button for each of the modes described above. In both the Builder and Version Tree modes, it executes the current workflow. In Query mode, it executes the query, and in Parameter Exploration mode, it executes the workflow for each of the possible parameter settings.
When a workflow is executed, the module color is determined as follows:
- lilac: module was not executed
- yellow: module is currently being executed
- green: module was successfully executed
- orange: module was cached
- red: module execution failed
Note
VisTrails caches by default, so after a workflow is executed, if none of its parameters change, it won’t be executed again.
If a workflow reads a file using the basic module File, VisTrails does check whether the file was modified since the last run. It does so by keeping a signature that is based on the modification time of the file. And if the file was modified, the File module and all downstream modules (the ones which depend on File) will be executed.
If you do not want VisTrails to cache executions, you can turn off caching: go to Menu Edit -> Preferences and in the General Configuration tab, change Cache execution results to Never.
If you would like your input and output data to be versioned, you can use the Persistence package.
Additional Interactions
The Undo and Redo buttons function in the standard way, but note that these actions are implicitly switching between different versions of a workflow. Thus, you will notice that as you undo or redo a change to a workflow, the selected version in the version tree changes.
For all modes except Parameter Exploration, the center pane of VisTrails is a canvas where you can manipulate the current workflow, version tree, or query. The buttons on the right side of the toolbar allow you to change the default behavior of the primary mouse button (the left button for most multiple button mice) within this canvas. You can choose the behavior to select items in the scene, pan around the scene, or zoom in and out of the scene by selecting the given button. In addition, if you are using a 3-button mouse, the right button will zoom, and the middle button will pan. To use the zoom functionality, click and drag up to zoom out and drag down to zoom in.
Note
Pressing Ctrl-R will recenter the window. You may also zoom and pan in the window in the upper right corner of the main window (the picture-in-picture window). To recenter this picture-in-picture (PIP) window, first click on it to bring it to focus, then press Ctrl-R (or Command-R on a Mac) to recenter.